How to Install a Pop-up Drain Assembly
Video: How to Install a Pop Up Drain The Basics of Pop Up Drain Installation
Step By Step Instructions: How to Install a Pop Up Drain
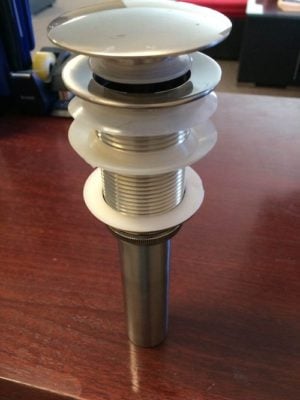
I will be explaining and visually showing you how to install a pop up drain assembly.
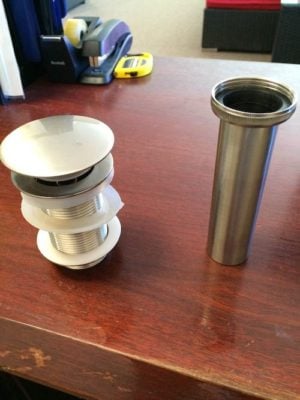
First you want to un-box your new pop up drain assembly. As you can see it comes “assembled” but more often than not the way your drain is already assembled is incorrect. Sometimes our faucets gaskets are placed into the incorrect order. You would want to change these around to the proper order or use silicone/plumber’s putty for this seal. When placing the drain in your sink, start off by unscrewing the bottom cylindrical tube that connects to the P-Trap. You want to work with the top portion first (On the left in this example), and work your way down.
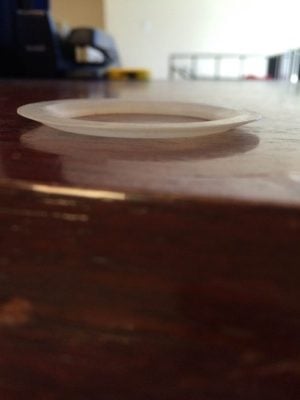
Taking the smaller of the two gaskets, place this gasket under the flange, flush with that piece. Then, place the top drain assembly into the drain center through the top of the sink.
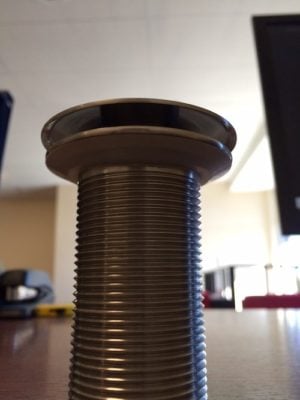
Make sure you have unscrewed the fastener from the drain and be prepared to use that piece once you have put the top through the sink. Taking the smaller of the two gaskets, place this under the flange flush as shown in the example below. After this step it is time to place your top drain assembly through the drain hole in your sink.
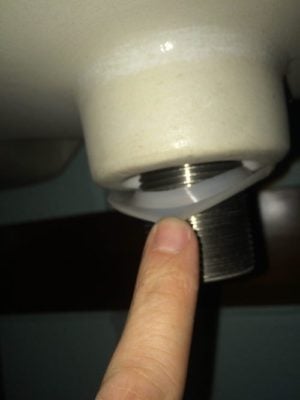
Once you have placed the drain in the sink, use the thicker of the 2 gaskets and place underneath the sink and around your drain thread as shown below.
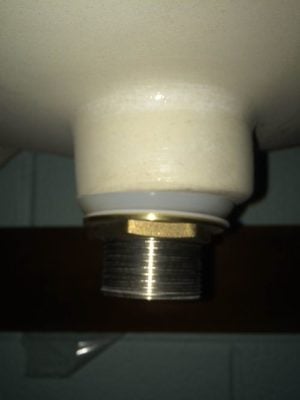
This should fit nice and snug around the bottom edge of your sink. Once you have done this take the fastener and secure the drain to the sink. There should be a plastic slip washer included in your kit so you’re able to fasten the drain to the sink base on the underside of your sink easily without damaging the underside of your sink. I have provided an example of what this should look like at this stage, note the thin washer between the gasket and the fastener.
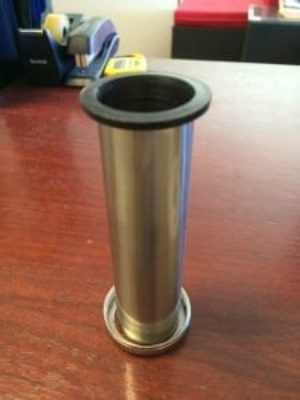
If you used plumber’s putty, wipe any excess out of your sink basin that was squeezed out during fastening. All you need to do now is attach the bottom tube ( Shown below), making sure the black rubber gasket is still included and tighten everything up.
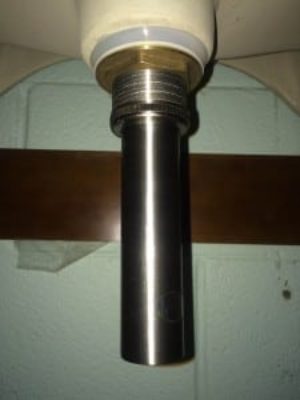
Finished completed install before connecting the P-Trap shown below.
Your next step to finishing this install would be to connect your P-Trap to the wall drain and VUAHLAH! You have successfully installed and sealed your drain assembly!
If you learn better by watching someone, I have made a video of just that. You can find that video above! We hope this helps you the next time you’re installing a drain assembly!

